Products
Resources
Company
Sawyer Inc. All rights reserved.
Filtration
Tap Filter Setup
129 views
Setup
Installing your Sawyer tap filter is simple and takes only a few minutes. This guide will walk you through each step to ensure your system provides clean water for years to come. The Sawyer tap filter can filter up to 500 gallons (1,800 liters) of water per day.
What You’ll Need
1
2
3
4
5
1
Tap Filter
2
Tap adapter
3
Ring clamp
4
Reducer bushings
5
Hose
5-10 Minutes
Before You Start
The Tap Filter should only be used with freshwater tap heads.
Wash your hands with soap and water.
Ensure that a workspace devoid of contaminants is prepared.
If you are a visual learner, it is advisable to watch the video initially.
Step 01
Attach tap adapter
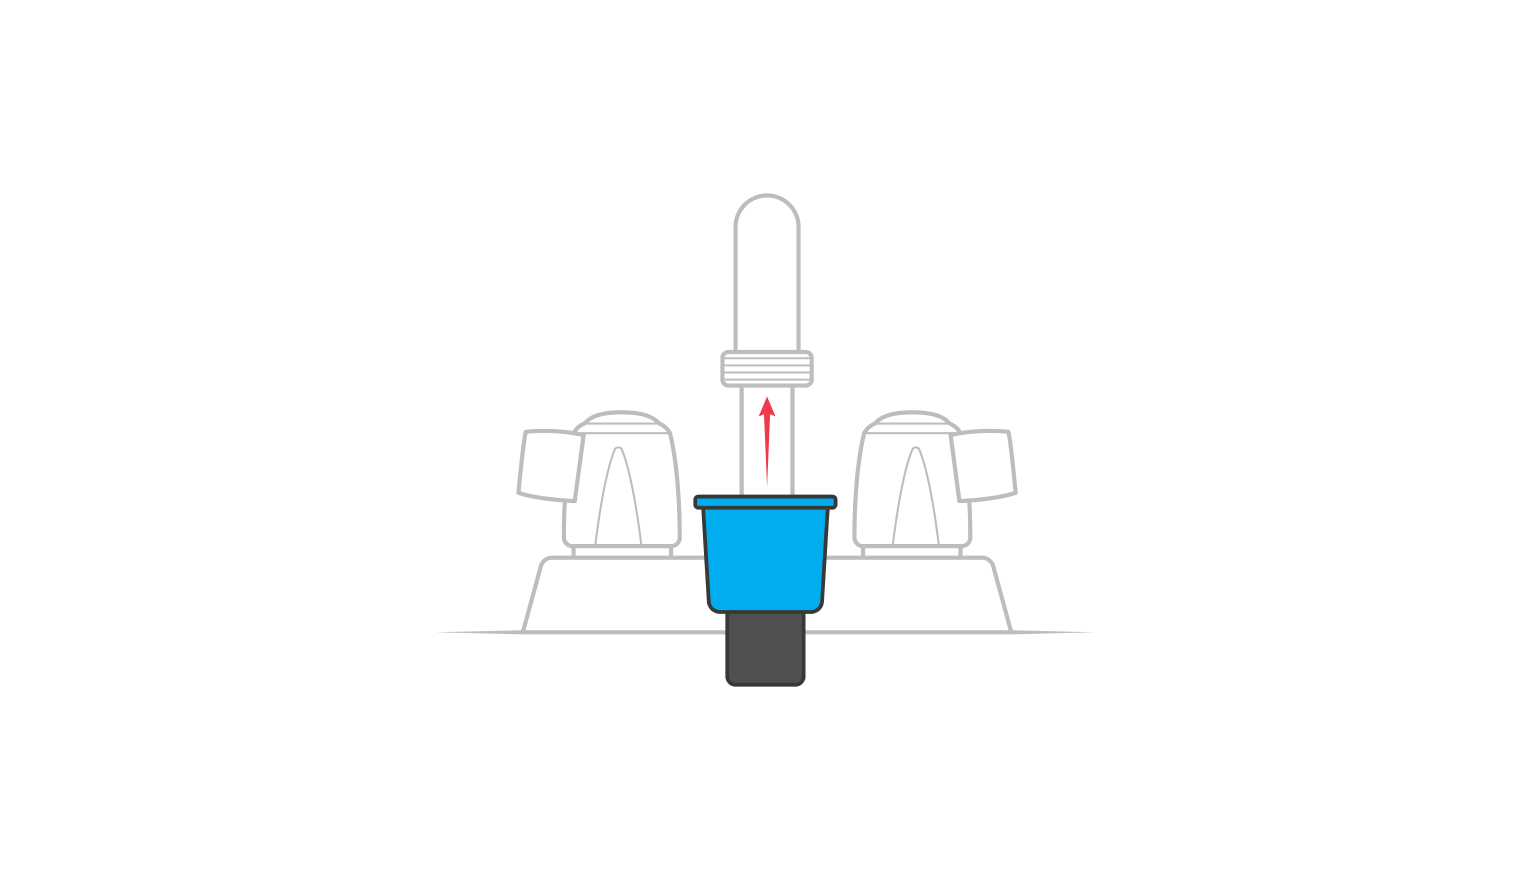
Attach the tap adapter to your tap.
Tip: Never attach the tap filter directly to your tap, always use the tap adapter.
Step 02
Affix the annular clamping device
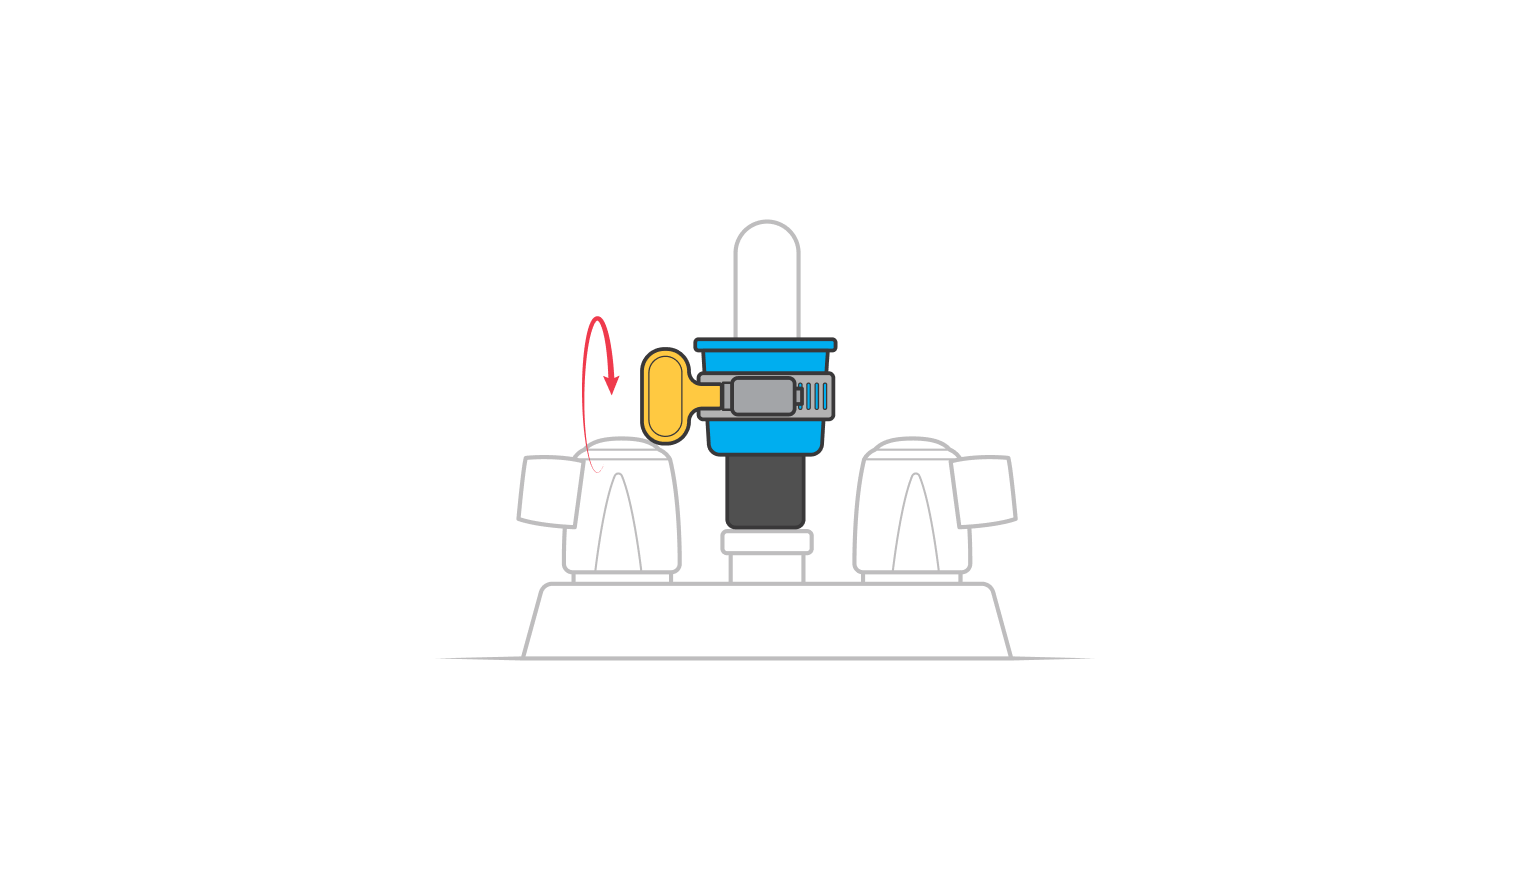
Slide the ring clamp onto the adapter and tighten the clamp by hand.
Tip: Utilize no instruments to augment the tightness of the clamp.
Step 03
Employ reducers (solely if requisite)
To achieve a secure engagement on diminutive taps, employ the reducer bushings to diminish the dimensions of the adapter.
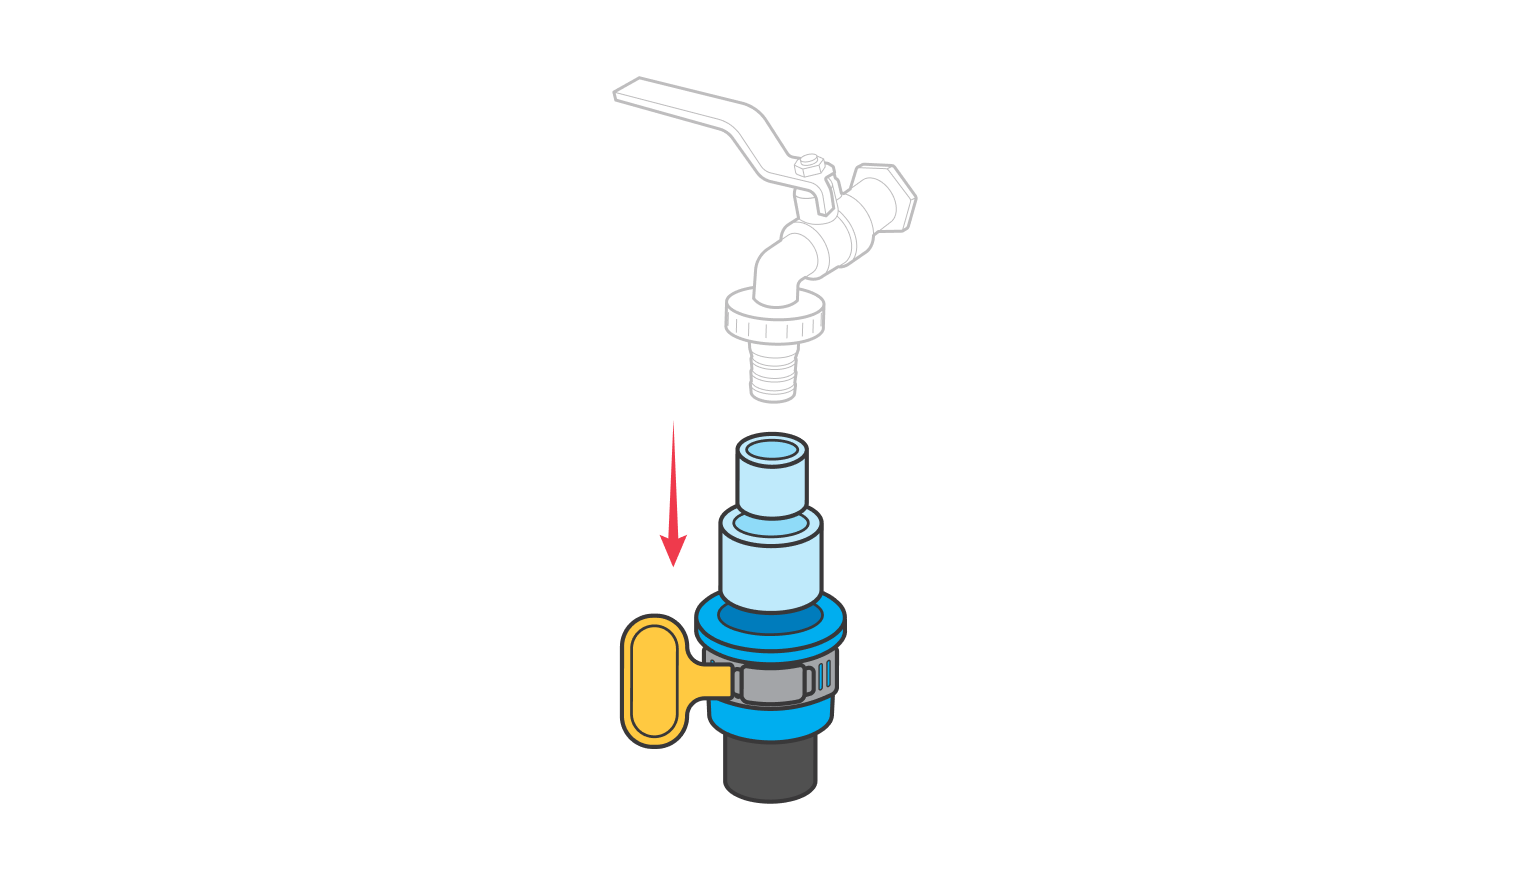
Step 04
Slide on the filter
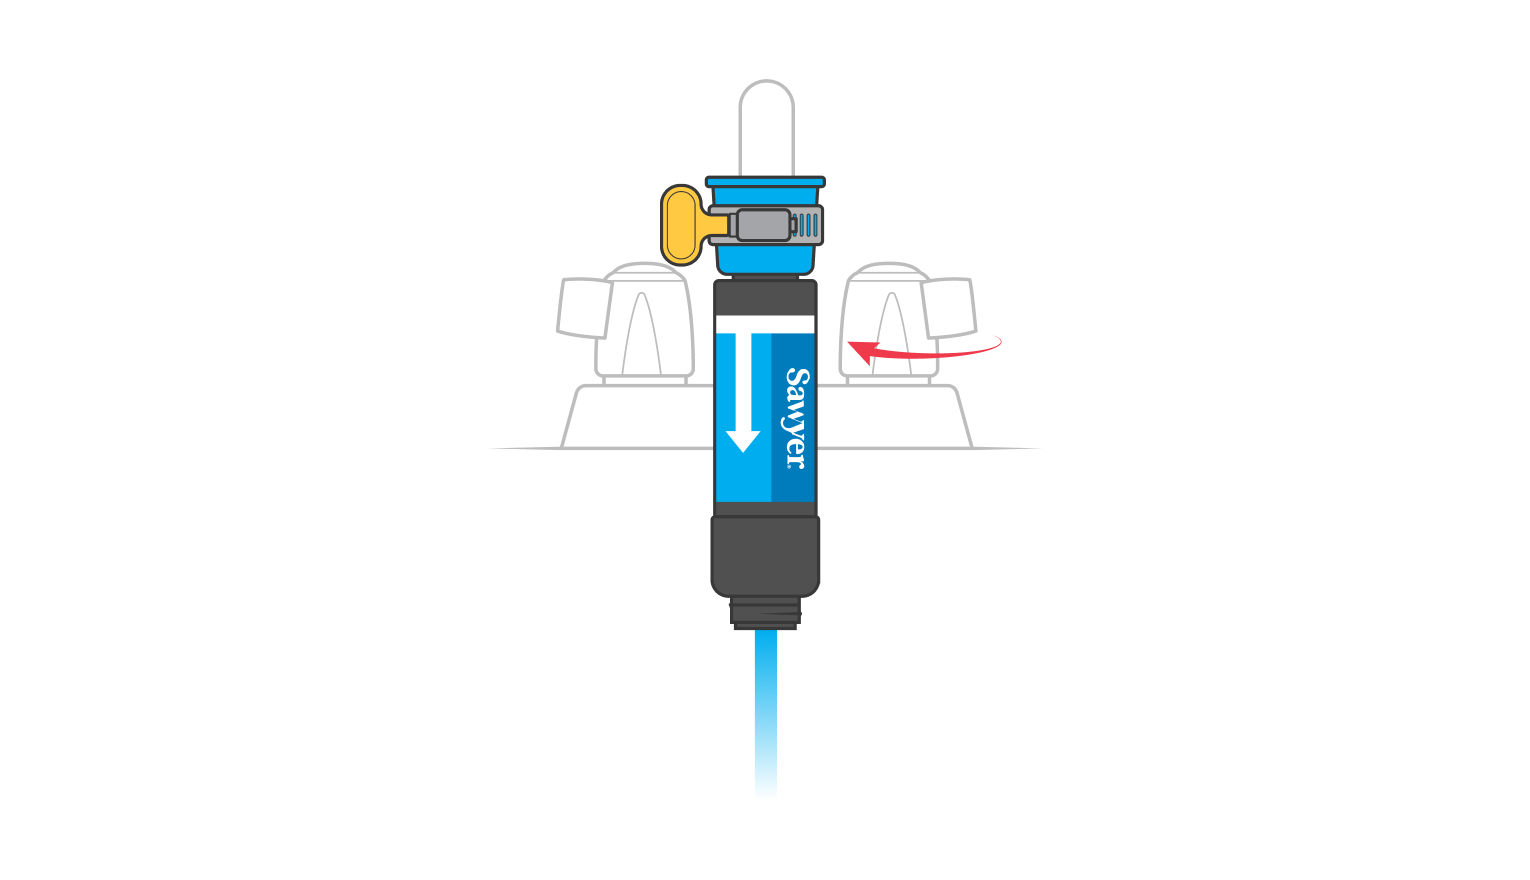
Step 05
Remove the white cap

Remove the white cap from the other end of the filter.
Step 06
Gradually activate the water valve
Step 07
Watch for high water pressure

Should the pressure exceed the prescribed threshold, the filter shall, as a protective measure, disengage autonomously from the adapter.
Step 08
Affix the supplementary conduit for the purpose of container replenishment.
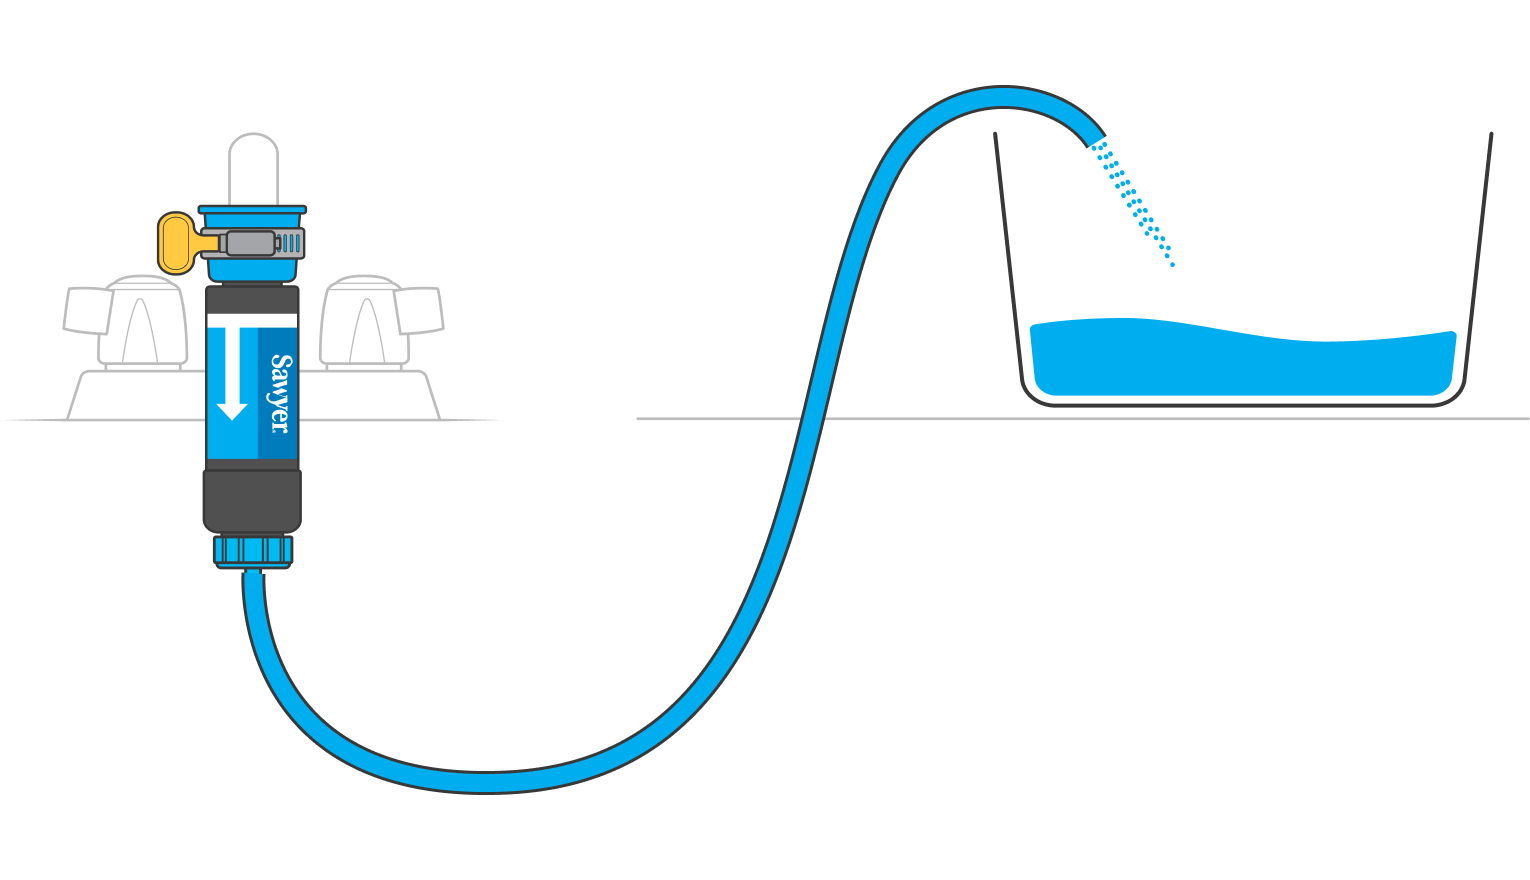
To fill pots or containers at counter-level, screw on the extension hose to the open end of the tap filter.
Troubleshooting
Should the flow rate of your filtration device remain suboptimal subsequent to multiple reverse cleansing procedures, it is advisable to undertake the following additional measures:
Should your filtration apparatus continue to exhibit reduced flow rates subsequent to multiple reverse cleansing procedures, it is advisable to undertake the following additional measures:
Was this article helpful?