Products
Resources
Company
Sawyer Inc. All rights reserved.
Filtration
Bucket Filter Setup
299 views
Setup
Setting up your Sawyer bucket filter is simple and takes about 15 minutes. This guide will walk you through each step to ensure your filter system provides clean water for years to come.
What You’ll Need
1
2
3
1
Food-grade container or bucket
2
Your Sawyer Bucket Filter Kit
3
13/16" (21mm) drill bit
5-10 Minutes
Before You Start
Choose a clean, food-grade container (never use buckets that have stored chemicals or paint).
Wash your hands with soap and water.
Have a clean workspace ready.
If you're a visual learner, watch the video first.
Step 01
Prepare and mark the bucket
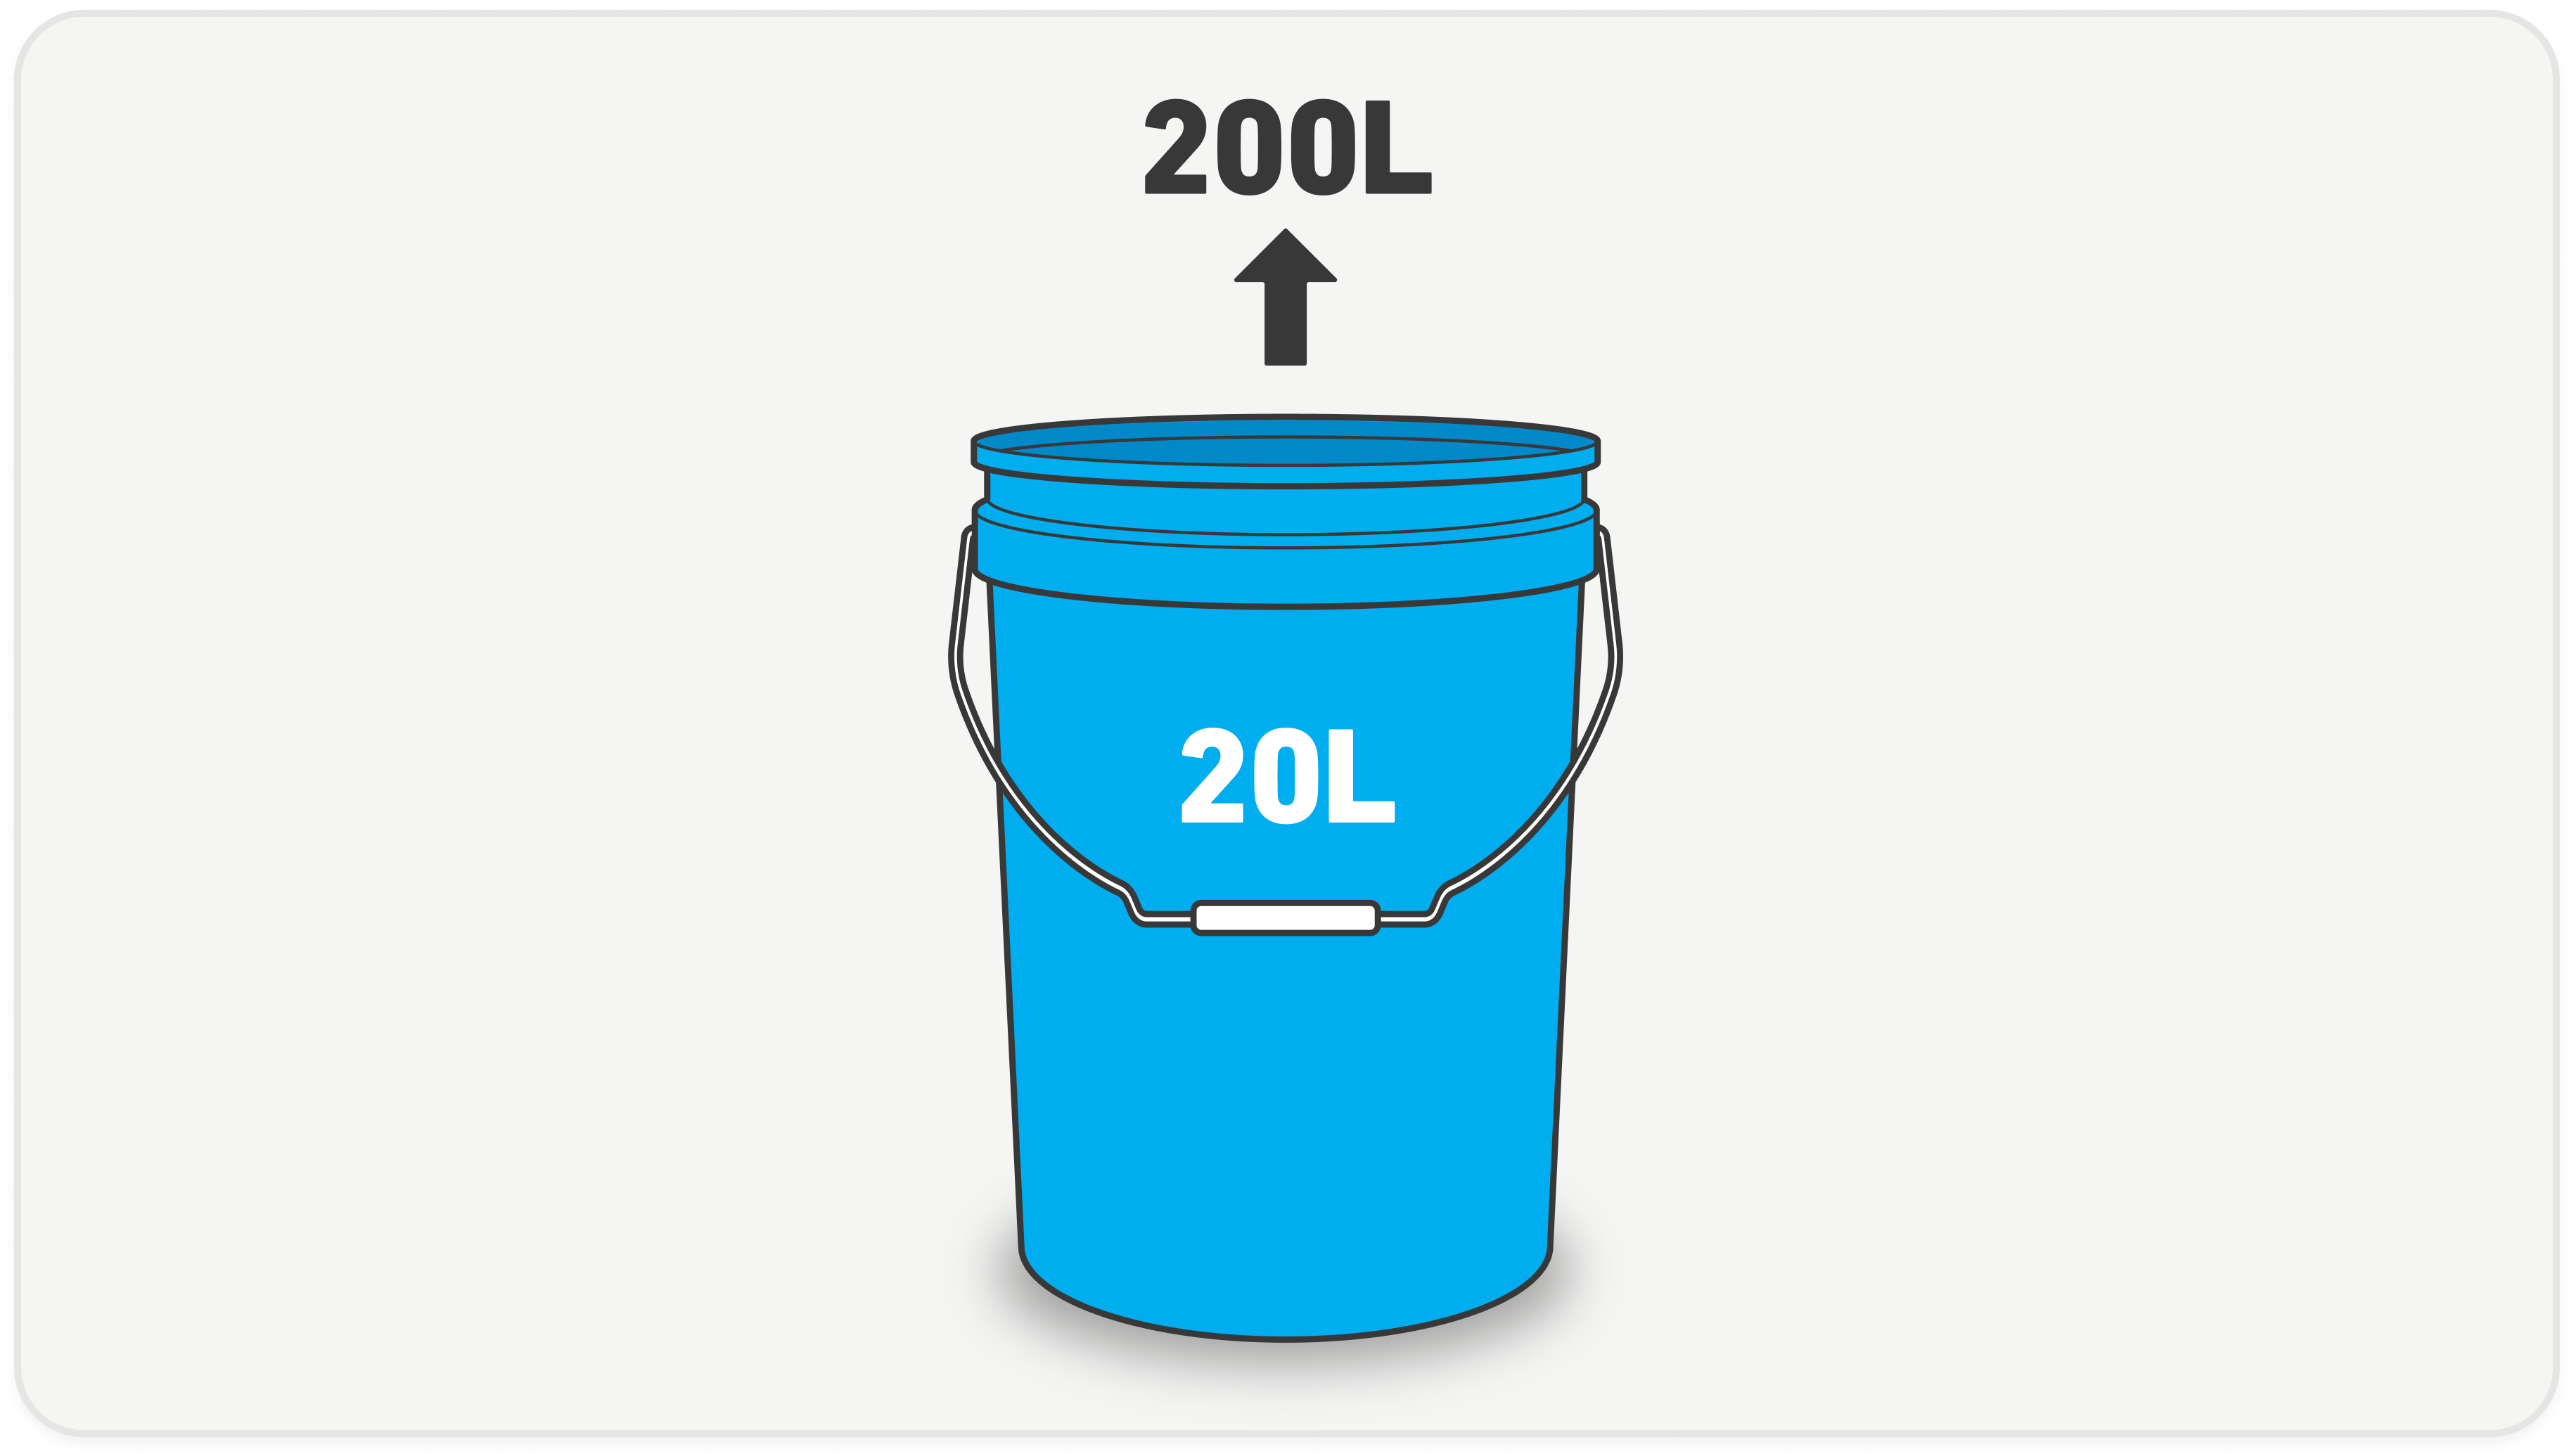
Get a 5 gallon (20 liter) bucket, or a 200 liter drum that is food-grade and has never stored chemicals or paint. Mark a spot 1.5 inches (4cm) from the bottom of your bucket. This height prevents sediment from clogging your filter while maximizing water capacity.
Step 02
Drill the hole
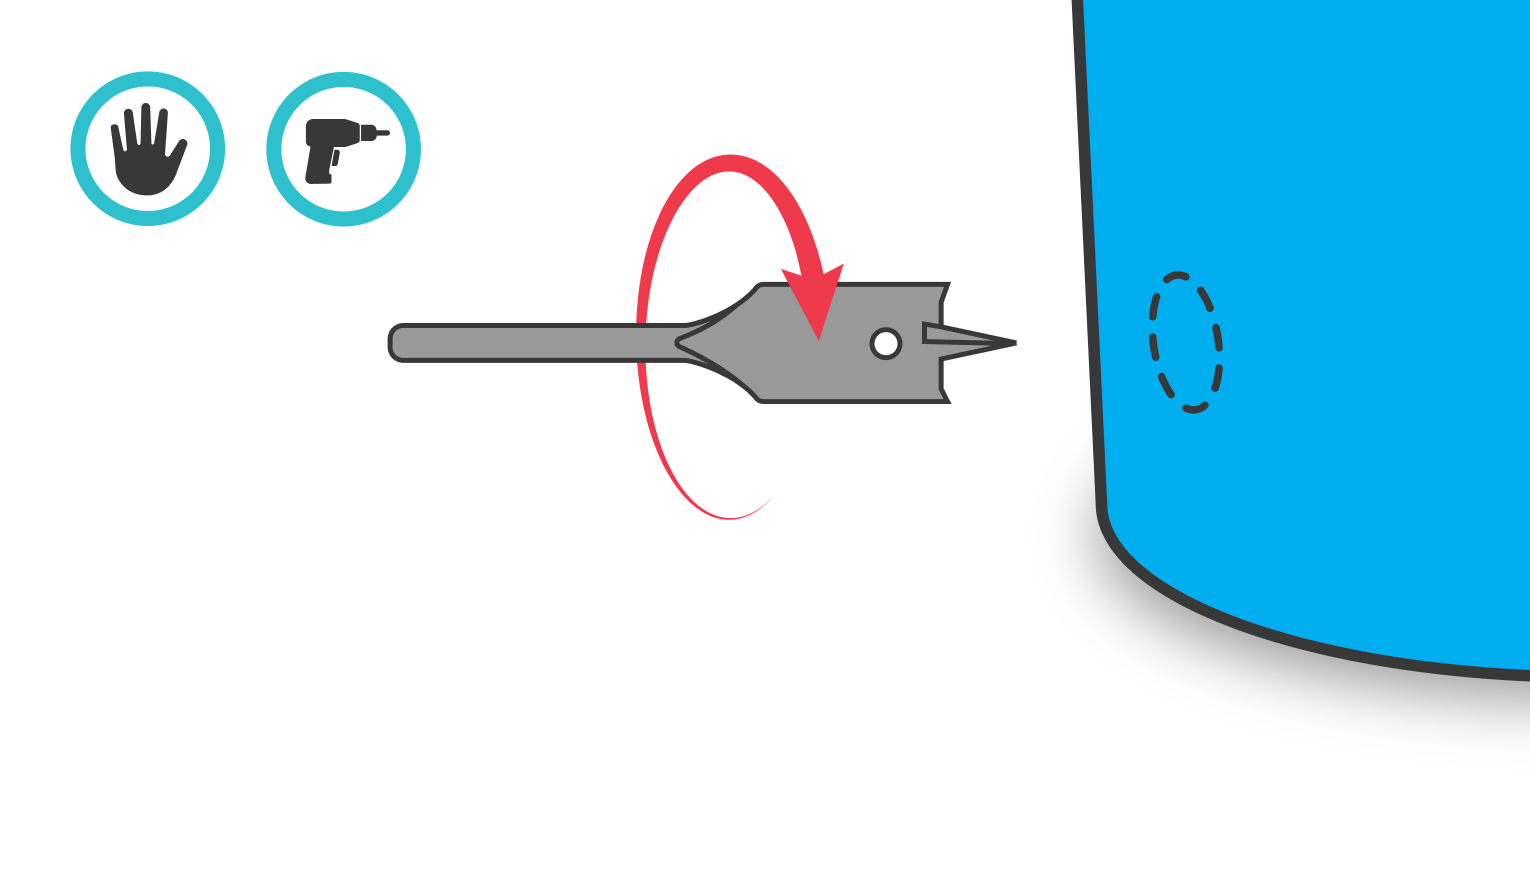
Cut the hole using a 13/16" (21mm) drill bit with a power tool or cut the hole by hand.
Tip: Place tape where you'll drill to prevent the plastic from cracking.
Step 03
Remove loose pieces of plastic

After cutting the hole, make sure to remove any loose pieces of plastic. Loose plastic could cause a leak.
Step 04
Insert the bucket tongue adapter

Place the rubber washer over the threads of the bucket tongue adapter and insert into the hole on the outside of the bucket.
Tip: Hand tighten only- no tools needed. The small wedge side of the washer should touch the bucket.
Step 05
Secure the tongue adapter to the bucket
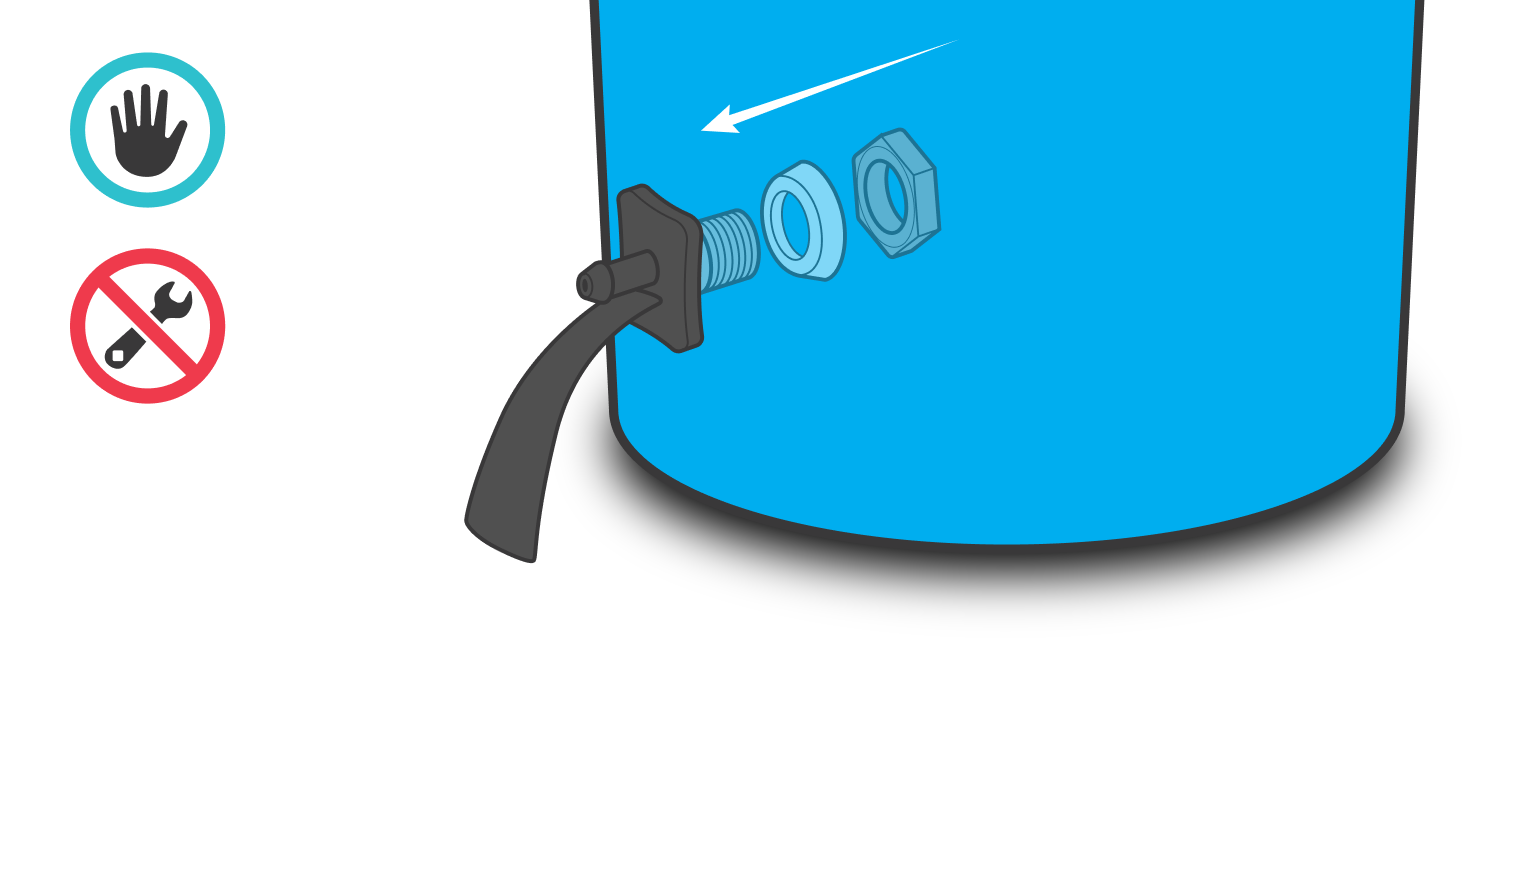
Place the second rubber washer over the threads of adapter on the inside of the bucket, ensuring the small wedge side of the washer touches the bucket. Screw on the plastic nut to the bucket tongue adapter and tighten by hand to avoid any leaks.
Tip: Hand tighten only- no tools needed.
Step 06
Connect the hose

Connect the hose to the stem of the bucket tongue adapter.
Step 07
Attach the coupling to the hose

Attach the gray threaded coupling to the other side of the hose.
Step 08
Attach filter hanger to Sawyer filter
Take the filter hanger and slide it up the back side of the filter.
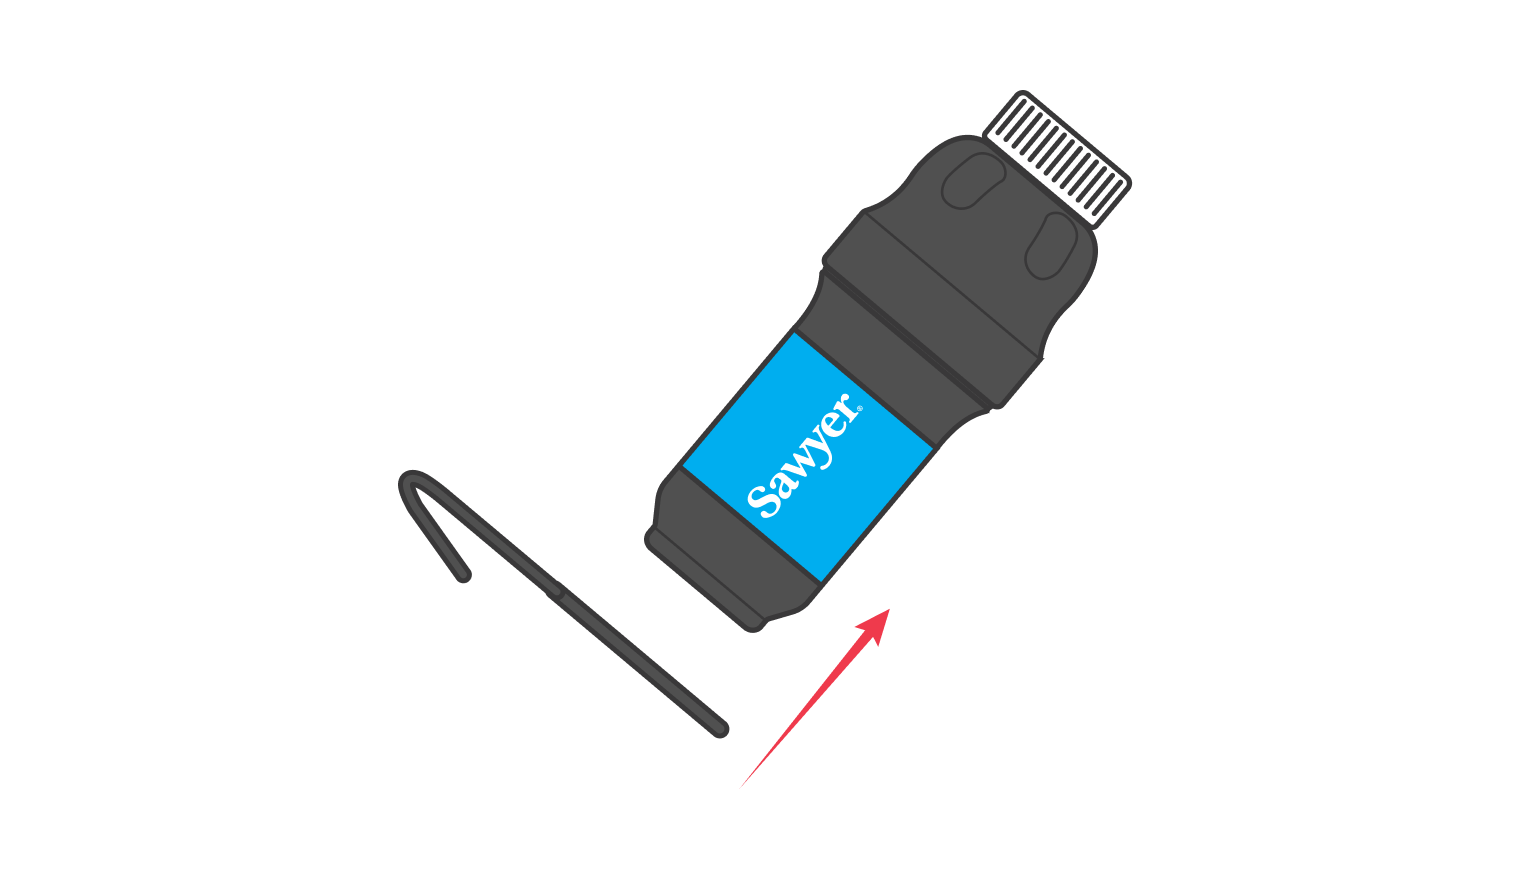
Step 09
Connect the filter to the hose

Screw the filter on to the grey hose coupling.
Tip: Only hand tighten, don't over tighten by using any tools.
Step 10
Hang the filter

Hang the filter on the side of the bucket and enjoy clean water!
Troubleshooting
If your filter is still flowing slowly after several backwashing attempts, try these additional steps:
If your filter is still flowing slowly after several backwashing attempts, try these additional steps:
Was this article helpful?