Products
Resources
Company
Sawyer Inc. All rights reserved.
Filtration
Bladder Filter Setup
228 views
Setup
Preparing your Sawyer bladder system for use is simple and takes only a few minutes. This guide will walk you through each step to ensure your system provides clean water for years to come.
What You’ll Need
1
2
3
4
5
6
1
Sawyer Filter (Squeeze or Mini)
2
Bladder (For dirty water)
3
Hose
4
Bladder to hose adapter
5
Hose to filter adapter
6
Tongue adapter
5-10 Minutes
Before You Start
Wash your hands with soap and water.
Have a clean workspace ready.
If you're a visual learner, watch the video first.
Step 01
Assemble the hose
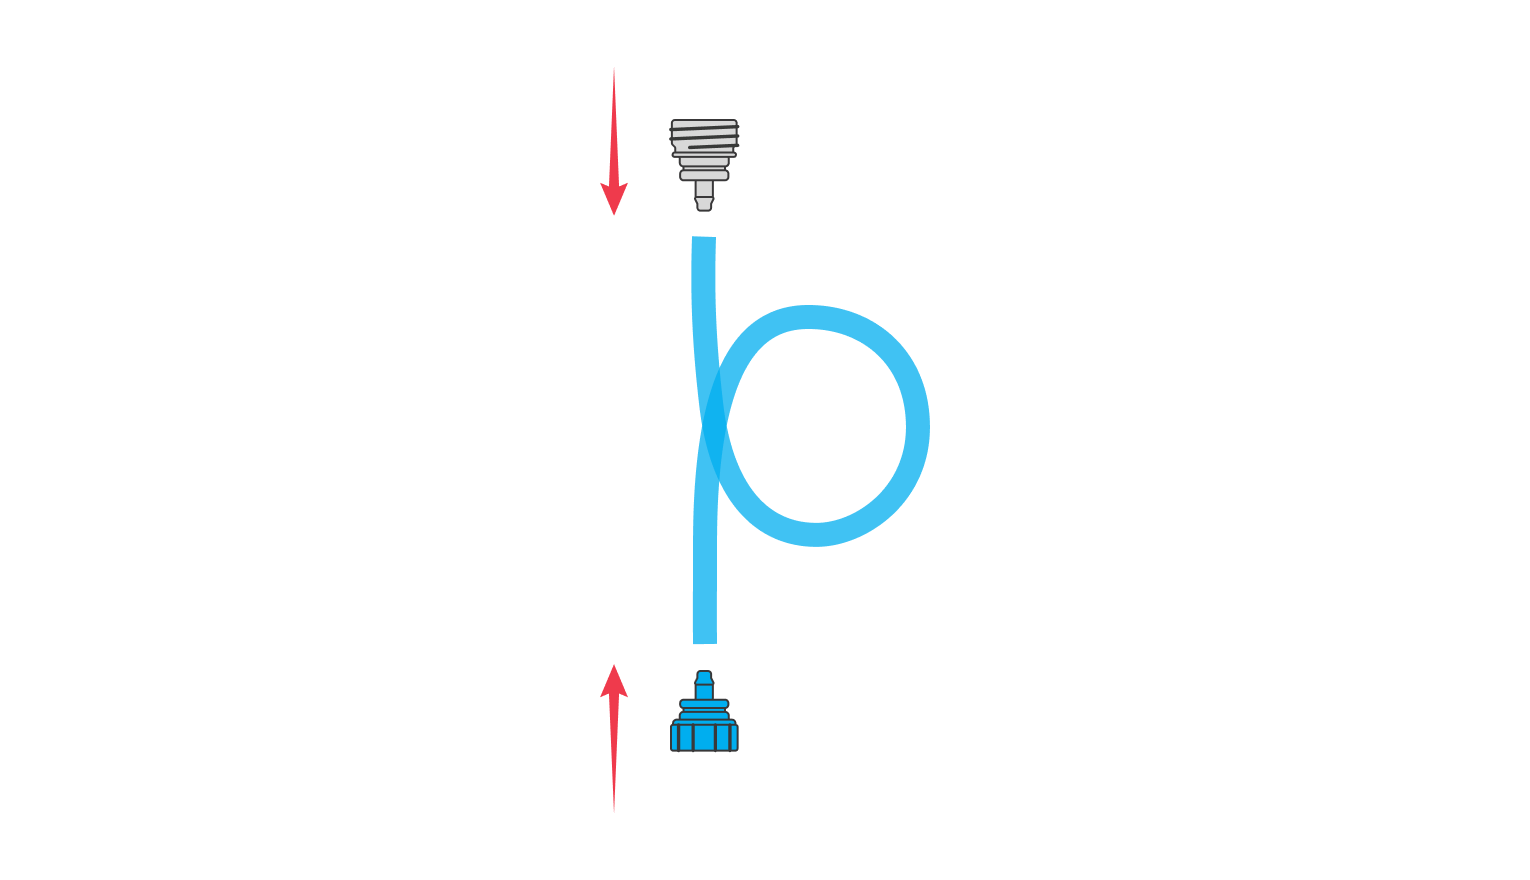
Assemble the hose by attaching the hose adapters to both sides.
Step 02
Attach the filter (Sawyer Squeeze)

By hand, screw the filter onto the hose-to-filter adapter.
Tips: Do not use any tools to tighten this filter, as this will cause over-tightening.
Step 03
Attach the filter (Sawyer Mini)

Connect the hose directly to the inflow stem of the filter (no adapter needed).
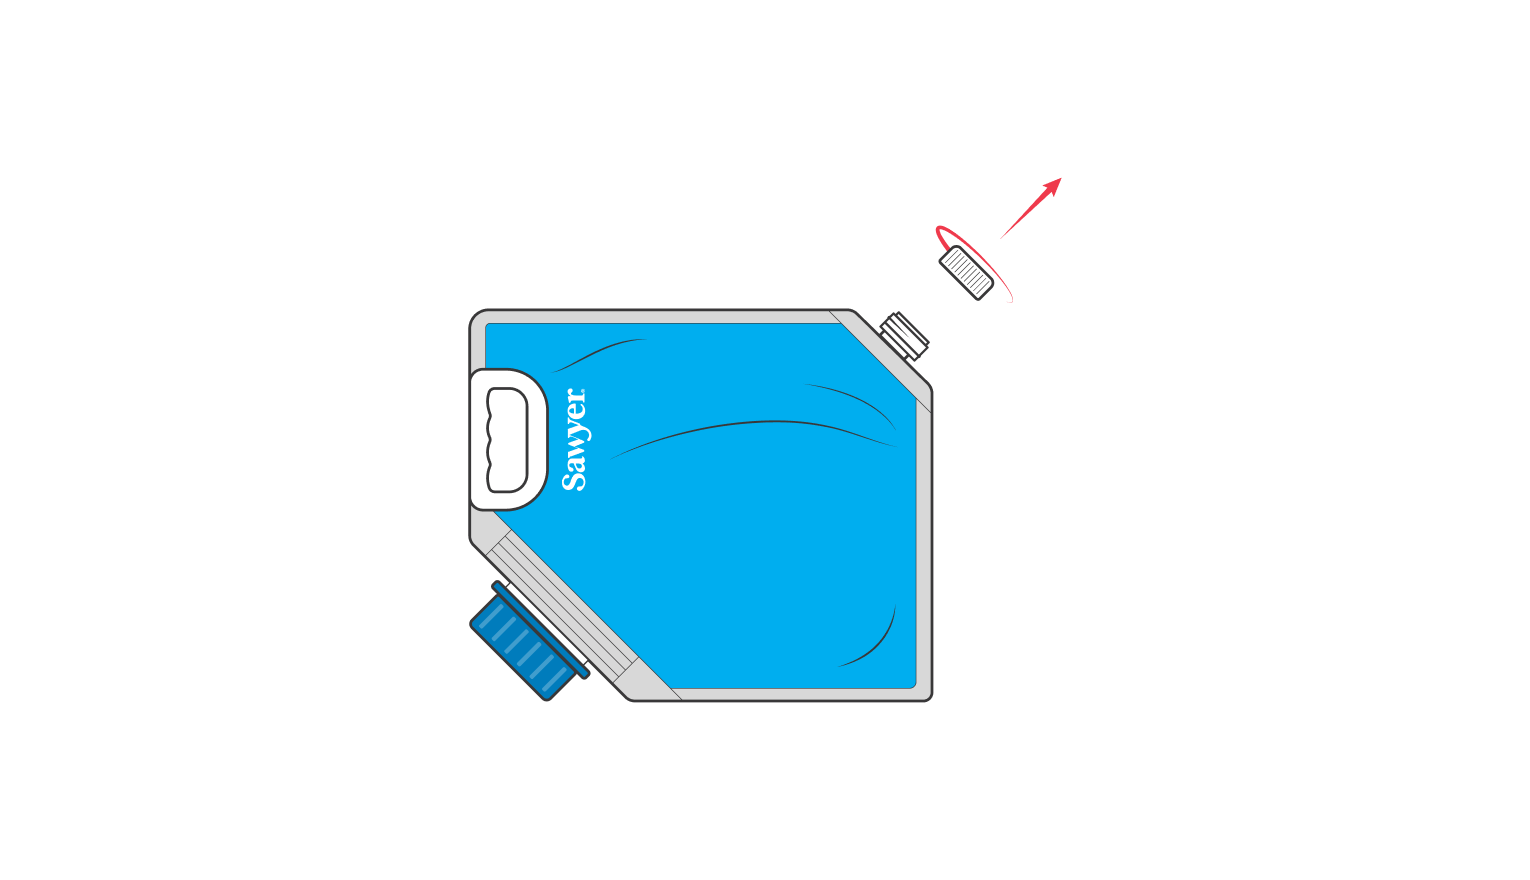
Step 04
Prepare the bladder

Ensure the small cap at the bottom of the bladder is screwed on.
Step 05
Fill bladder with water

Tip: Pre-filter muddy water with a cloth or t-shirt to help improve the flow rate.
Step 06
Screw on large cap

Screw the large cap back onto the bladder.
Step 07
Remove the small cap from full bladder
While holding the bladder upside down, remove the small cap.
Step 08
Connect the hose to bladder

Screw the hose and filter system onto the small opening of the bladder.
Tip: Tighten by hand only.
Step 09
Attach the tongue adapter

Step 10
Place your bladder filter
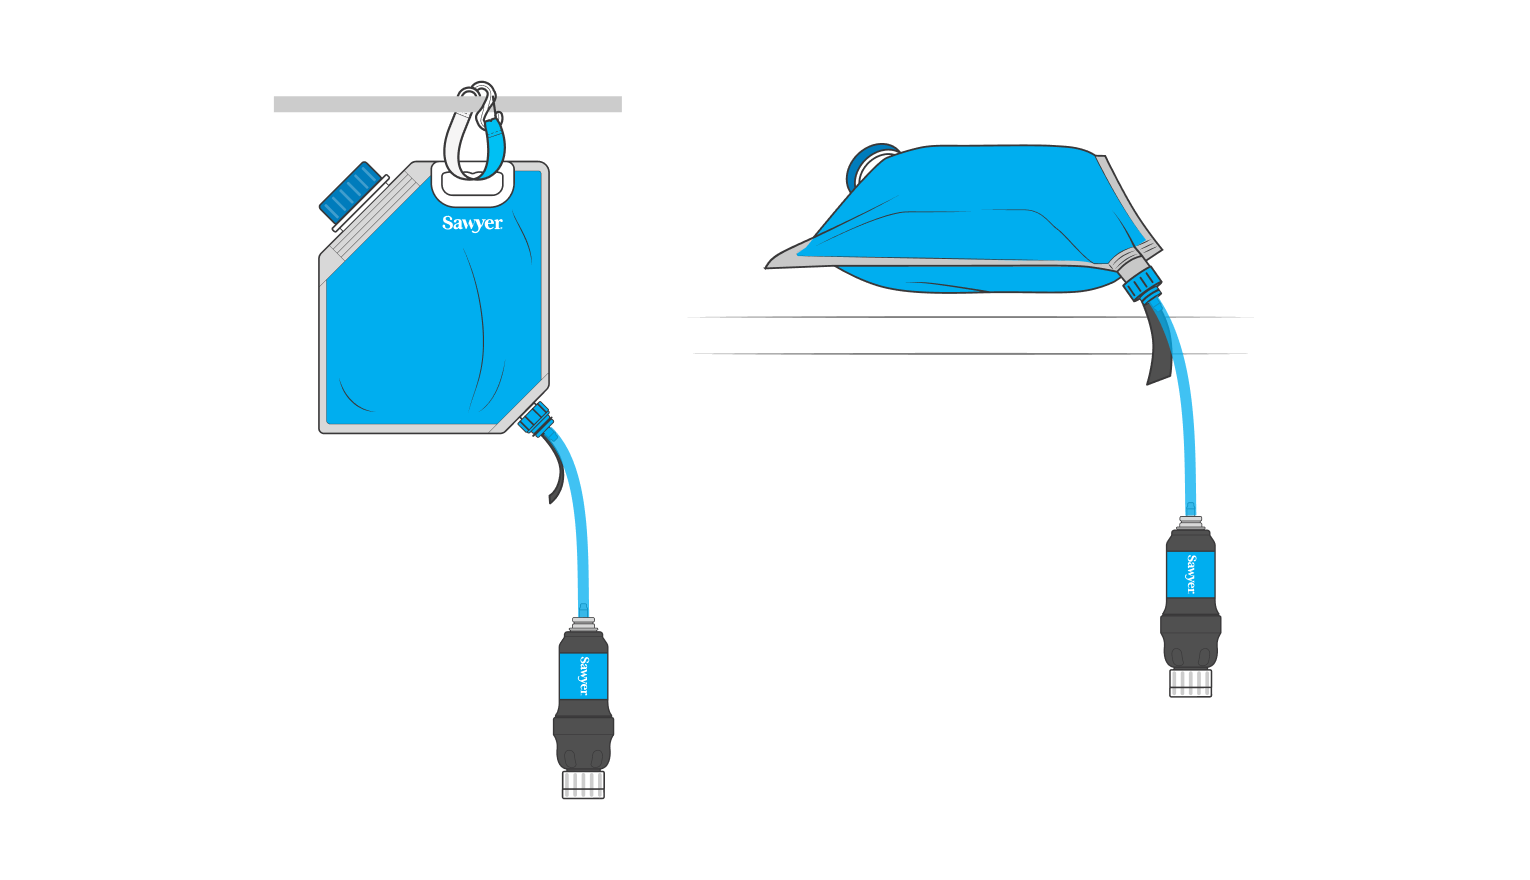
Either hang the bladder filter by the handle, or set it on a flat surface.
Tip: The greater the distance between the bladder and the filter, the faster the water will flow.
Step 11
Open the filter cap
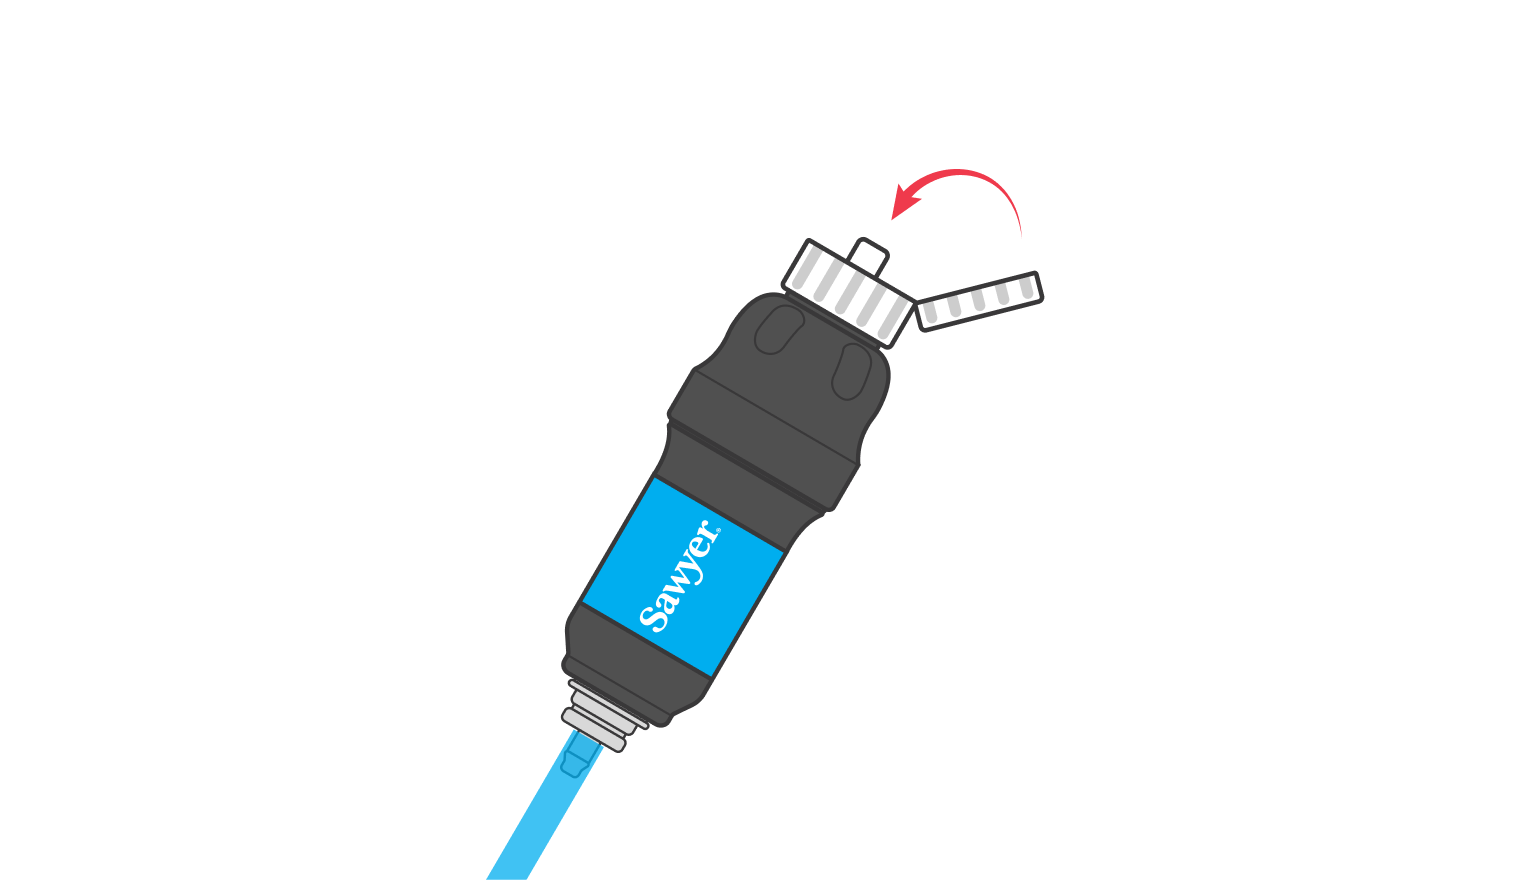
Open the cap to the filter while in the raised position.
Tip: When closing the cap- ensure the filter is in the same vertical, raised position.
Step 12
Lower the filter

Lower the filter with the cap open to start the flow of clean water.
Troubleshooting
If your filter is still flowing slowly after several backwashing attempts, try these additional steps:
If your filter is still flowing slowly after several backwashing attempts, try these additional steps:
Was this article helpful?